Introduction
Over the past few years, PC gaming has become an even larger competitor to console gaming. In 2017, the PC gaming industry hit $28 billion in revenue and that number is projected to climb to just under $34 billion in 2020. Unlike the ready-to-play out of the box console competitors, Xbox & Playstation, PC gamers are unique in that their systems are built to their own design and to perform according to their own specifications. While having to build a PC can seem like a daunting task and could serve as a barrier to entry into the world of PC gaming, it’s honestly about as difficult as putting together a LEGO set. In this article, we will walk you through our very own PC build in order to show readers that building a PC is rather easy, and the results are more than worth the effort.
Step 1: Selecting the Components
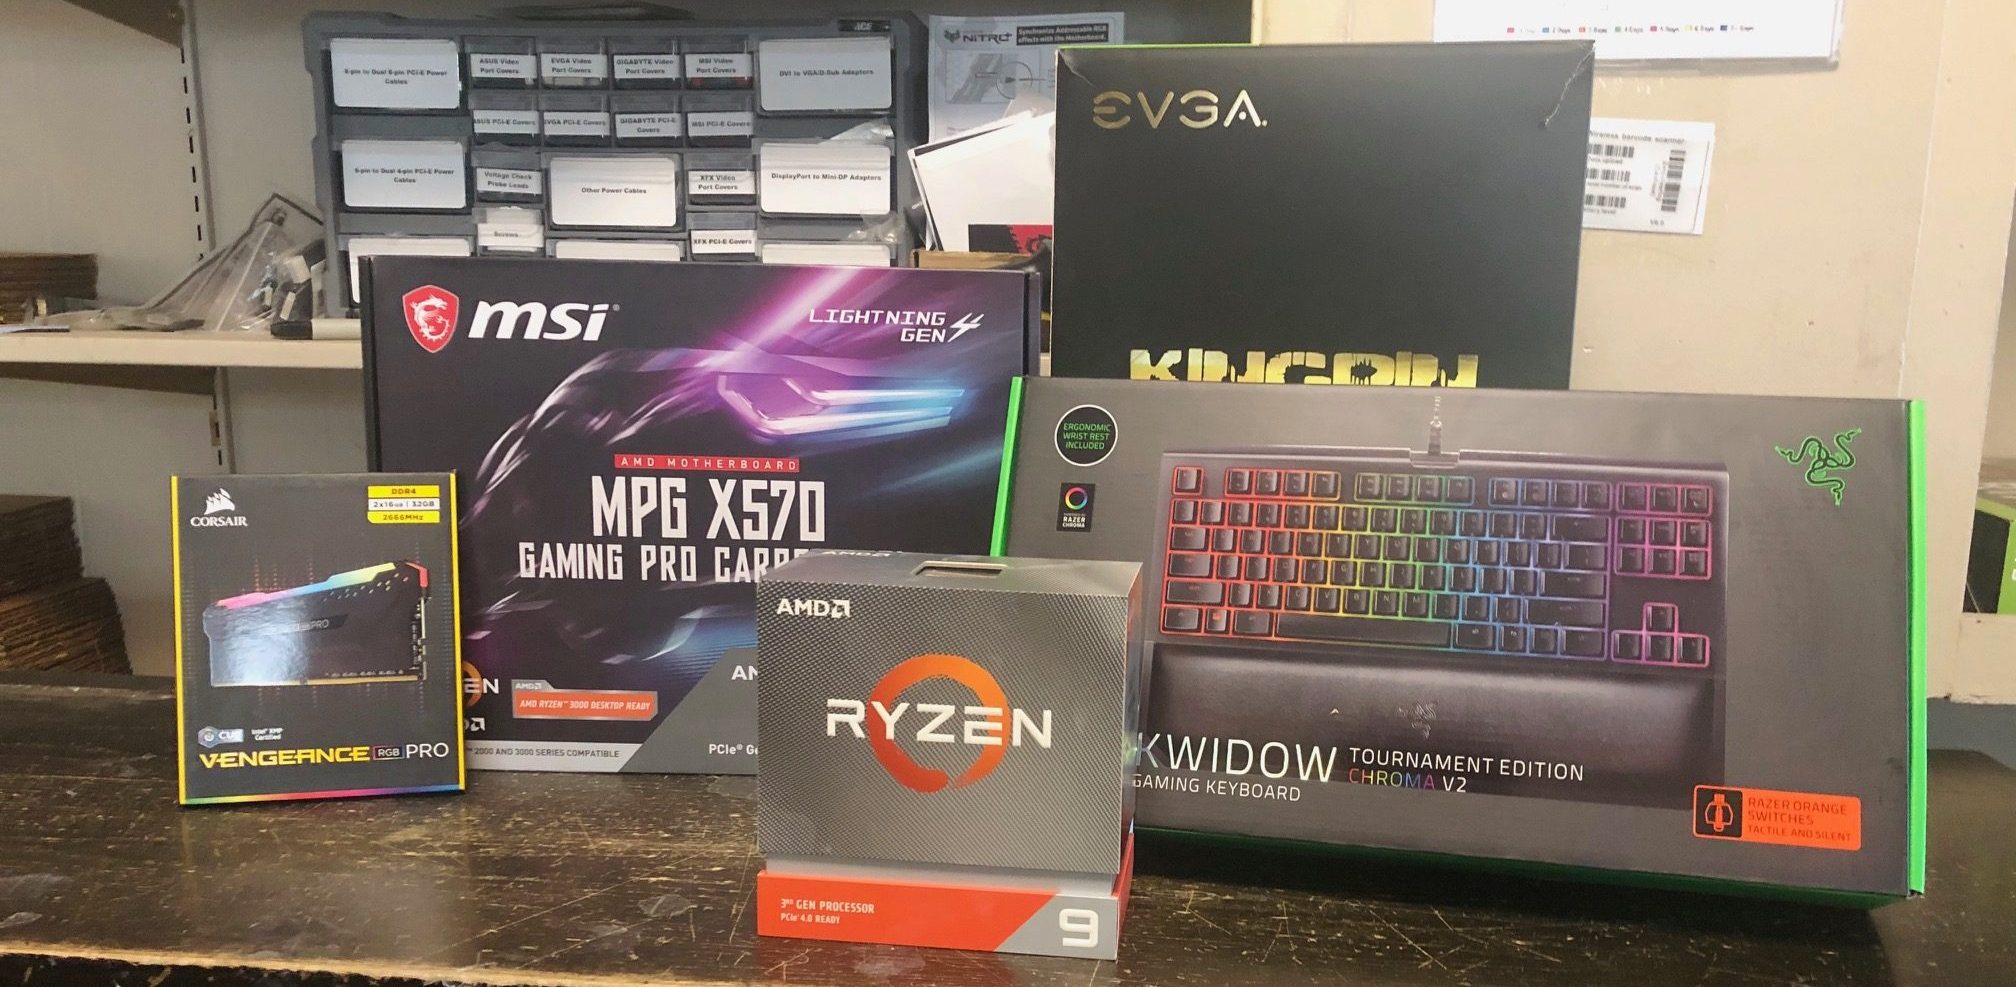
Step one is the most important part of the whole process: determining which components you will buy for your PC build. Builds can range from a budget low-end PC to ultra high-end overkill, but it’s important to craft a build that 1.) is comprised of components that are compatible with one another, 2.) meets your performance needs and budget, and 3.) is aesthetically pleasing to you. Here at CEG, we like to recommend the website PC Part Picker, a source that will help you build a PC from scratch and tells you whether or not your build components are compatible. Your build will require the following components at minimum:
- PC Case
- Motherboard
- CPU (most come with CPU fan cooler)
- GPU
- RAM
- Power Supply
- SSD/HDD
- SATA Cables
- PCI-E Power Cables
- Operating System (software)
- Keyboard
- Mouse
Once you have your parts, it’s time to start the build!
Step 2: Connecting CPU, CPU Cooler & Ram to the Motherboard
There’s a couple of ways to do this step: 1.) Attach the CPU, CPU fan cooler and RAM to the motherboard before installing the motherboard inside of the case, or 2.) install the motherboard first and then attach the other components. The first way is typically easier because you don’t have to be bent over your case trying to screw/unscrew things from an awkward angle. For our purposes, we re-used the case from our old testing rig for the new build and already had our power supply & HDD installed, so it was easy to drop the motherboard into the case and start connecting. As you can see from the video above, installing the CPU is very easy. First make sure you properly align the CPU with the socket on the motherboard, for these Ryzen CPU’s there is a small triangle indicator on both the CPU and the socket which indicates the proper orientation for the CPU. Next lift the little latch on your motherboard, slot in the CPU, and press down the latch. Make sure that the CPU is snug – otherwise this will cause you major headaches down the line.
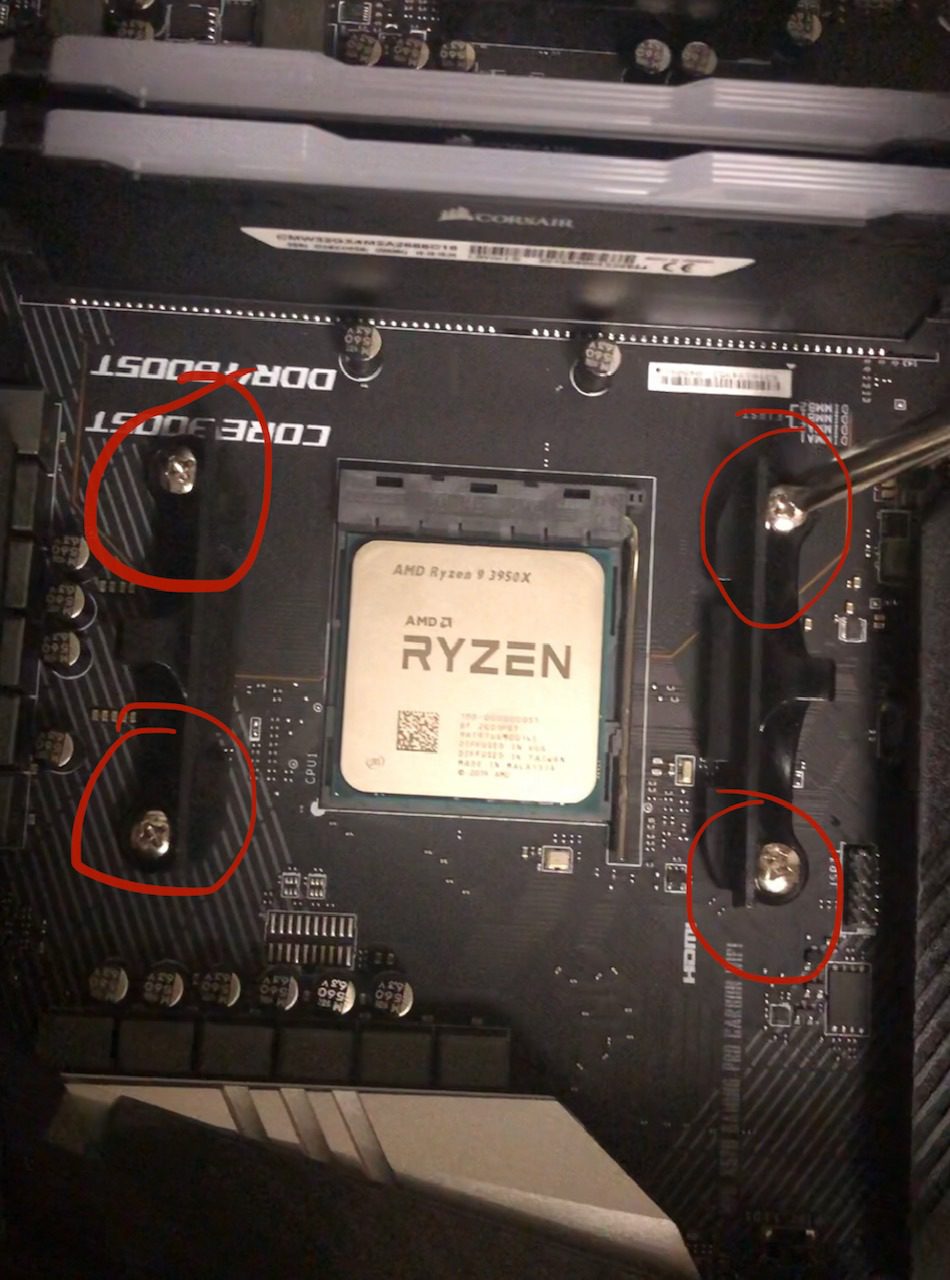
Next we’ll install the CPU cooler shown in the short video above. Most CPUs come with a CPU cooler nowadays, but they are available for purchase separately if yours does not or if you want to spice up the aesthetics of your build with a fancy RGB LED one. For our build, we went with the AMD Ryzen 9 3950X which is the only Ryzen 3000 series CPU that does not come with a CPU fan cooler, we used a CPU fan cooler that we had on hand from a AMD Ryzen 5 3600X that was compatible. To install the fan, you must first remove the brackets on your motherboard (pictured below).
The CPU cooler is placed directly on top of the CPU. However, before screwing the cooler to the motherboard it’s important to make sure you have a healthy glob of thermal paste applied to the top of the CPU. Thermal paste is essential for the heat dissipation from the die of the CPU and your heatsink, not having thermal paste can lead to overheating and crashing. Once you’ve made sure that you have thermal paste applied, secure the cooler to the motherboard by screwing it in to the motherboard around the CPU where the brackets were located. Lastly, you’ll need to connect the cable attached to the CPU fan cooler to the motherboard (see video below – the power connector is typically labeled “CPU_FAN” or “CPU_FAN1”).
With the CPU and fan cooler installed, it’s time we connect the RAM to the motherboard. RAM is probably the easiest component to install and simply pops in to the allocated slots (see video below). Three important notes when installing RAM are that most motherboards have slot configurations for multiple sticks of RAM, meaning that it matters which slots you place the sticks in. For our motherboard, the MSI MPG X570 Gaming PRO Carbon WiFi, the optimal slot configuration is A2/B2. The slots should be clearly identified on the motherboard. Additionally the RAM only installs in one direction, to make sure you slot it in correctly make sure the pins and cut out on the RAM lines up with the RAM slot properly. Finally, don’t be afraid to push with some force, RAM often causes issues if not installed snugly.
Step 3: Installing the Motherboard
Now that we have the CPU, CPU fan cooler and RAM connected to the motherboard, it’s time to install the motherboard in the case. As shown in the video below, it’s important to line up the I/O shield, part of the motherboard that contains all of your ports, with the opening on the side of your case. If the I/O shield is not lined up properly, some of your ports may be inaccessible and the motherboard will not line up with the case connection points. Once you’re certain that the I/O shield is lined up correctly, you can screw the motherboard into the case as shown in the video below. Some motherboards, like ours, only have four holes at the edges of the motherboard while others will have a couple of points in the middle of the board as well, so make sure you use the correct ones for your board as they can differ slightly.
Step 4: Installing the Power Supply & SATA Storage
The next step in the build process is to add the power supply and SATA storage. As we mentioned earlier in the article, we decided to reuse the case, power supply and SATA storage from our old testing rig for the new testing build. Because of this, we did not remove them from the case when assembling the new build. As you can see in the picture below, the aforementioned components are secured to the case in their correct places and the appropriate cables have been connected. This video shows the step-by-step process of installing the power supply, and this video shows the installation of the SATA storage. Once the power supply and storage have been installed and the appropriate connections to the motherboard have been made, it’s time to install the graphics card.

Step 5: Installing the GPU
Installing the graphics card is the last step before powering on your new PC build. Take the GPU and line it up with PCIe slot on your motherboard. Carefully place the GPU in the slot until it “clicks” in place and feels secure. Next, take the PCI-E power cables connected to your power supply and connect them to the GPU. Depending on the GPU, the number of PCI-E connections can vary from as little as 8 to 24-pins. Take a look at the video below for assistance installing the graphics card.
Step 6: Installing the OS
In order to use your new PC, you will need an operating system. We went with Windows 10 as it is the industry standard. To install it, you will need to create a Windows installation USB. Here is how you can create one. Grab an empty 16 GB USB thumb drive and head to a computer with internet access. Next, open your preferred browser and follow this link: https://www.microsoft.com/en-us/software-download/windows10 , to find the Windows 10 installation media tool. Simply click “Download tool now”, wait for it to download fully, and then start the program. It will be labeled MediaCreationTool or something similar. Once started, you need to click “Accept” for the applicable notices and license terms, and then you will see the option to “Create installation media”. Click on it, hit “Next” and then select the proper Windows version for installation, based on your preferred language and system compatibility. Click “Next” again and select your USB flash drive as the media to use. Click “Next” one more time, then you should see the progress as it installs, and you will just need to click “Finish” when prompted. From there your USB drive is ready to go. To use it, plug it in to your new PC and power on the computer. Next you will need to enter your PC’s boot-device selection menu in your motherboard’s BIOS, typically by pressing F2, Esc, F10 or F12 when your system is booting up. Once at the menu, you can select the option that boots the PC from the USB flash drive. That will start the Windows Setup and just follow the prompts you receive to install Windows. Once you do that you will be up and running in no time!
Conclusion
Congratulations, you’ve completed your PC build! Don’t be alarmed if the PC doesn’t boot up the first time you try turning it on – it happens all of the time during new builds and there are plenty of PC diagnostic resources online. While it may seem daunting at first, building a PC is a fairly simple process and is incredibly rewarding when done correctly. The customization provided by PC gaming is unparalleled and current trends seems to indicate that the PC gaming community is only going to continue to grow.
Video Citations:
DudeBrd. (2016, August 4). How to Install a Power Supply in Computer [Video file]. Retrieved from https://www.youtube.com/watch?v=VOsrsHC4CMk
Digital Trends. (2015, May 20). How to Install a SATA Hard Drive [Video file]. Retrieved from https://www.youtube.com/watch?v=NjfRYfN4jfM

Recent Comments